If you spend much time on the homelab side of YouTube, you might think that 40 TB of storage and a 10 Gbps network is the minimum requirement. For me, however, the homelab is all about building the skills needed for a network engineer role. My setup is modest, I’m running a PfSense firewall on a thin client, an old HP hand-me-down switch, and a few Dell Optiplex workstations with upgraded hard drives hosting various services. All devices are connected via Gigabit Ethernet, which suits my needs perfectly since the company I work for still relies on Fast Ethernet. (By the way, they just passed the $4 billion mark this year!)
Diving into Wireless
While studying for my CCNA, I explored wireless technologies like CAPWAP tunnels, hardware controllers, and centralized network monitoring and management. I knew I had to bring some of these features into my lab. So, I decided to invest a little of my Christmas bonus into upgrading my WiFi network. My focus wasn’t on achieving blazing speeds, but rather on learning how to implement and manage these technologies.
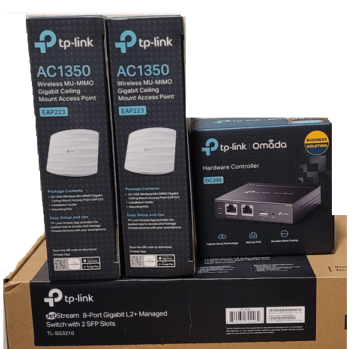
After some research, I settled on the TP-Link Omada system. Designed for small office/home office (SOHO) environments, it offered the centralized management, reliable speeds, and affordability I was looking for. My new setup includes:
- OC200 hardware controller
- TL-SG3210 switch
- (2) AC1350 access points
- EAP225-Outdoor access point
While the switch doesn’t provide PoE, the reviews were good and PoE injectors are cheap enough to work around this limitation.
Setting Up the Network
The hardware installation was straightforward—mount everything in the rack, connect the devices, and let the fun begin with the configuration.
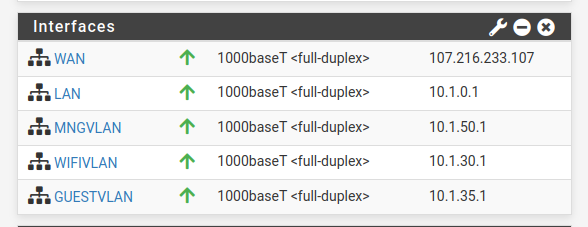
I created three separate Vlans:
- Management VLAN
- Network VLAN
- Guest VLAN
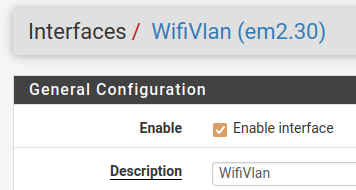
Coming from CCNA prep, I was accustomed to configuring router and switch interfaces that are enabled by default. However, when using a firewall for routing, I learned that interfaces must be manually enabled and explicitly configured to allow access between approved segments. This small oversight gave some frustration when setting up the controller.
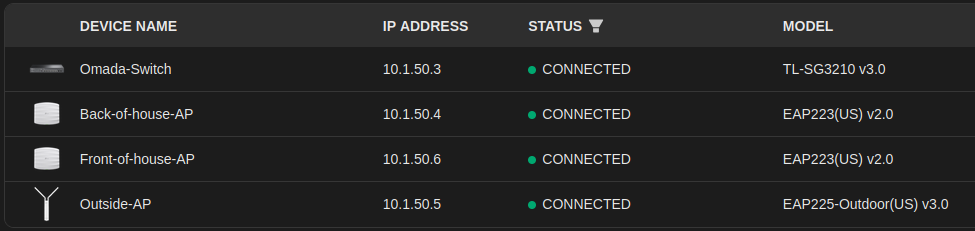
I installed the Omada app on my phone and after scanning the QR code, entering the required data, and registering the device, I was greeted with a better than I expected UI . I began by adopting and renaming the switch followed by the APs, one of the APs wasn’t cooperating but a quick reset did the trick.
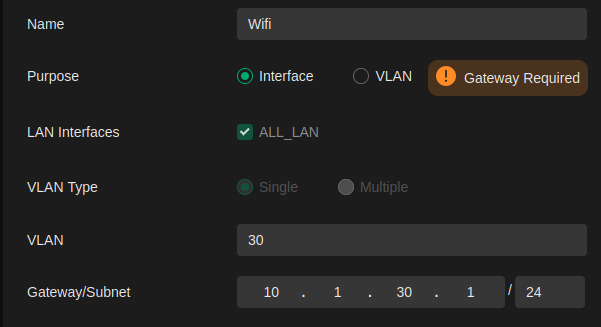
The controller UI is serviceable, though, like all platforms, there’s a learning curve locating the settings you’re looking for. To duplicate the VLANs I configured on the Pfsense I went to Settings>LAN>Create New LAN. There are 2 options Interface and VLAN, I believe the VLAN option is for a full Omada stack, since I’m not using the Omada gateway, I created interfaces for the VLANs, pointed them to their respective gateways, and set them to act as a DHCP relay to prevent a rogue server in the network. This way the Pfsense can be the authoritative source for all IP assignments.
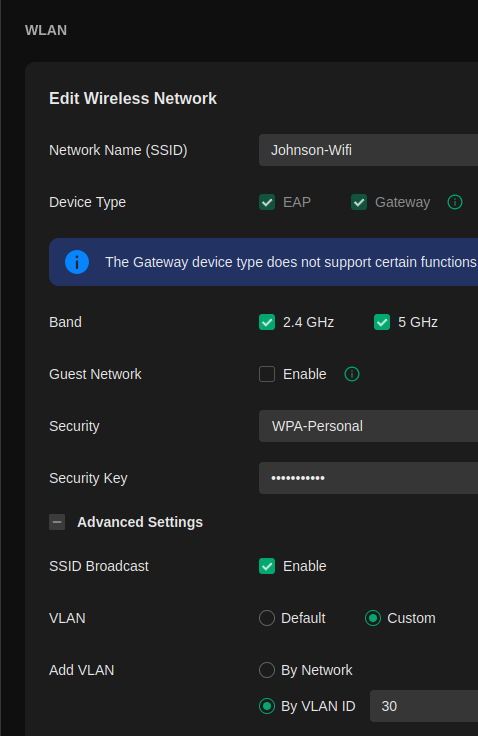
After the VLANs are created go to Settings>WLAN>WiFi-name, this will be whatever you set your wireless network name to, click the edit button and in there you can set the security type, password (if you choose PSK), and a host of other useful features.
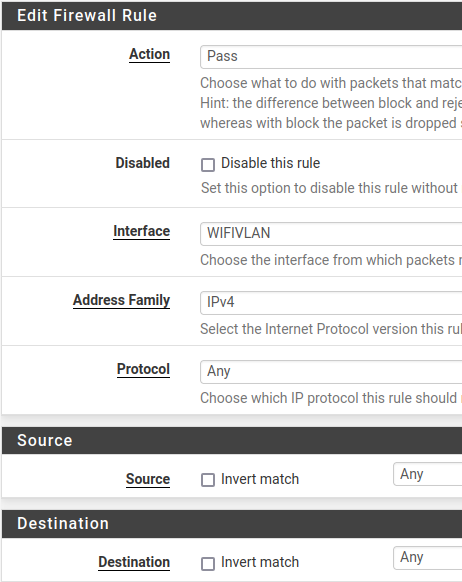
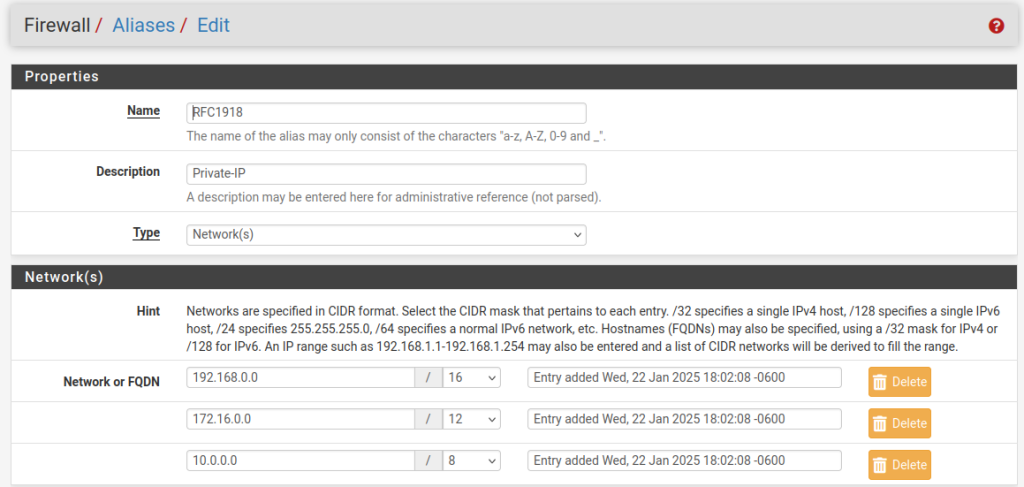
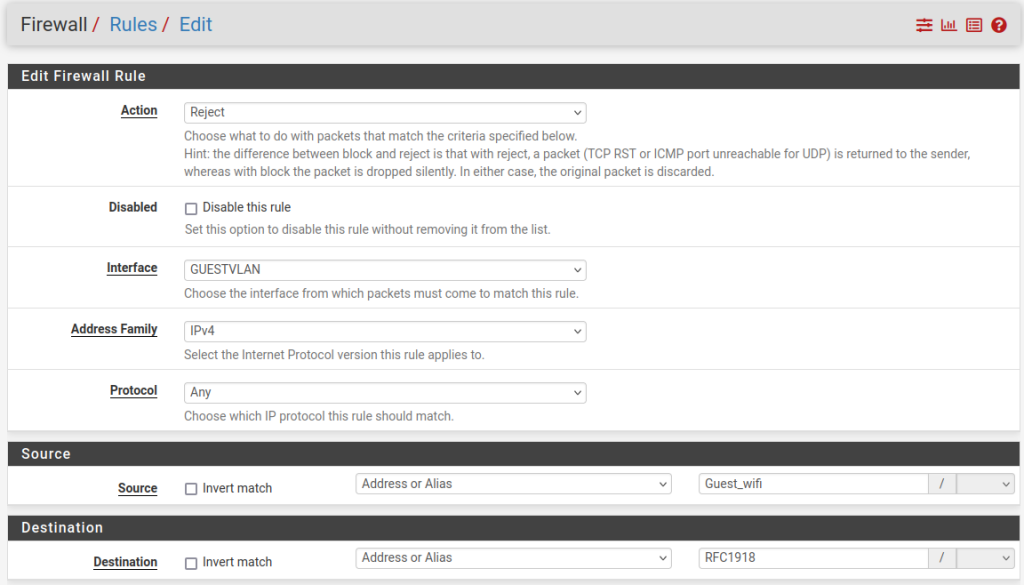
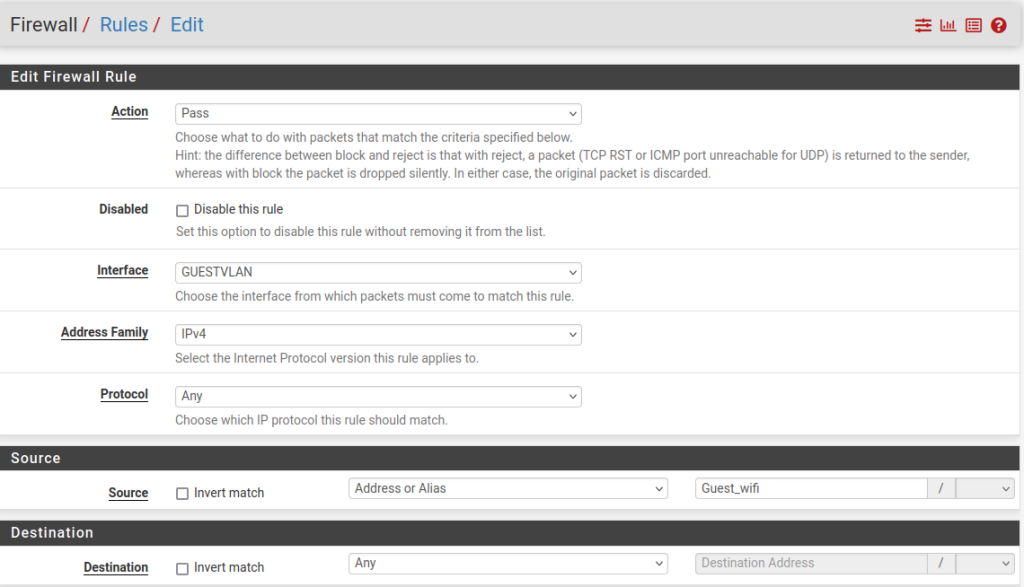
I was reading the Pfsense documentation about aliases and appreciated how they can simplify rule management. For the guest network I wanted to restrict access to only the internet. Using an alias of private IP ranges, I blocked all private addresses. A subsequent “pass all” rule allowed internet access, ensuring the guest network remained isolated from internal resources.
After consolidating two routers and their conflicting passwords into a single, unified system, with whole home coverage with a single SSID, improved network segmentation, and enhanced security. Best of all I can monitor and control everything from a centralized location.